
Simply Stunning Planter Box
It is so crazy to me how sometimes the most simple upgrade can change the look of a space so much.
This simple planter box is exactly what my front porch needed.
Follow along with me for a simple one hour DIY and I will show you how I made my new planter box.

Materials Needed:

4 screw in 8" spindle legs
4 angled top plates
1 can of flex seal
outdoor varathane
stain of your choice
(2) 1x2 pine
3/4" plywood (I used alder)
(in the picture there is a black can of spray paint that I never did end up using)
Tools and Cut list:

brad nailer
Table saw
(3) 15"x15" pieces of plywood
(2) 13.5' x 15' piece of plywood
(10) 15" long 1x2 pine
(10) 16.5" long 1x2 pine
(4) 16.5" long piece cut at 45 degree angle long to long
Time to Start Assembling

I used my brad nailed with 1" long nails to assemble the planter box. Start with all the 15"x15" pieces. Use one for the base and secure the other 2 to the base on opposite sides.
Next nail in the 13.5" pieces to complete the box.
Seal the box
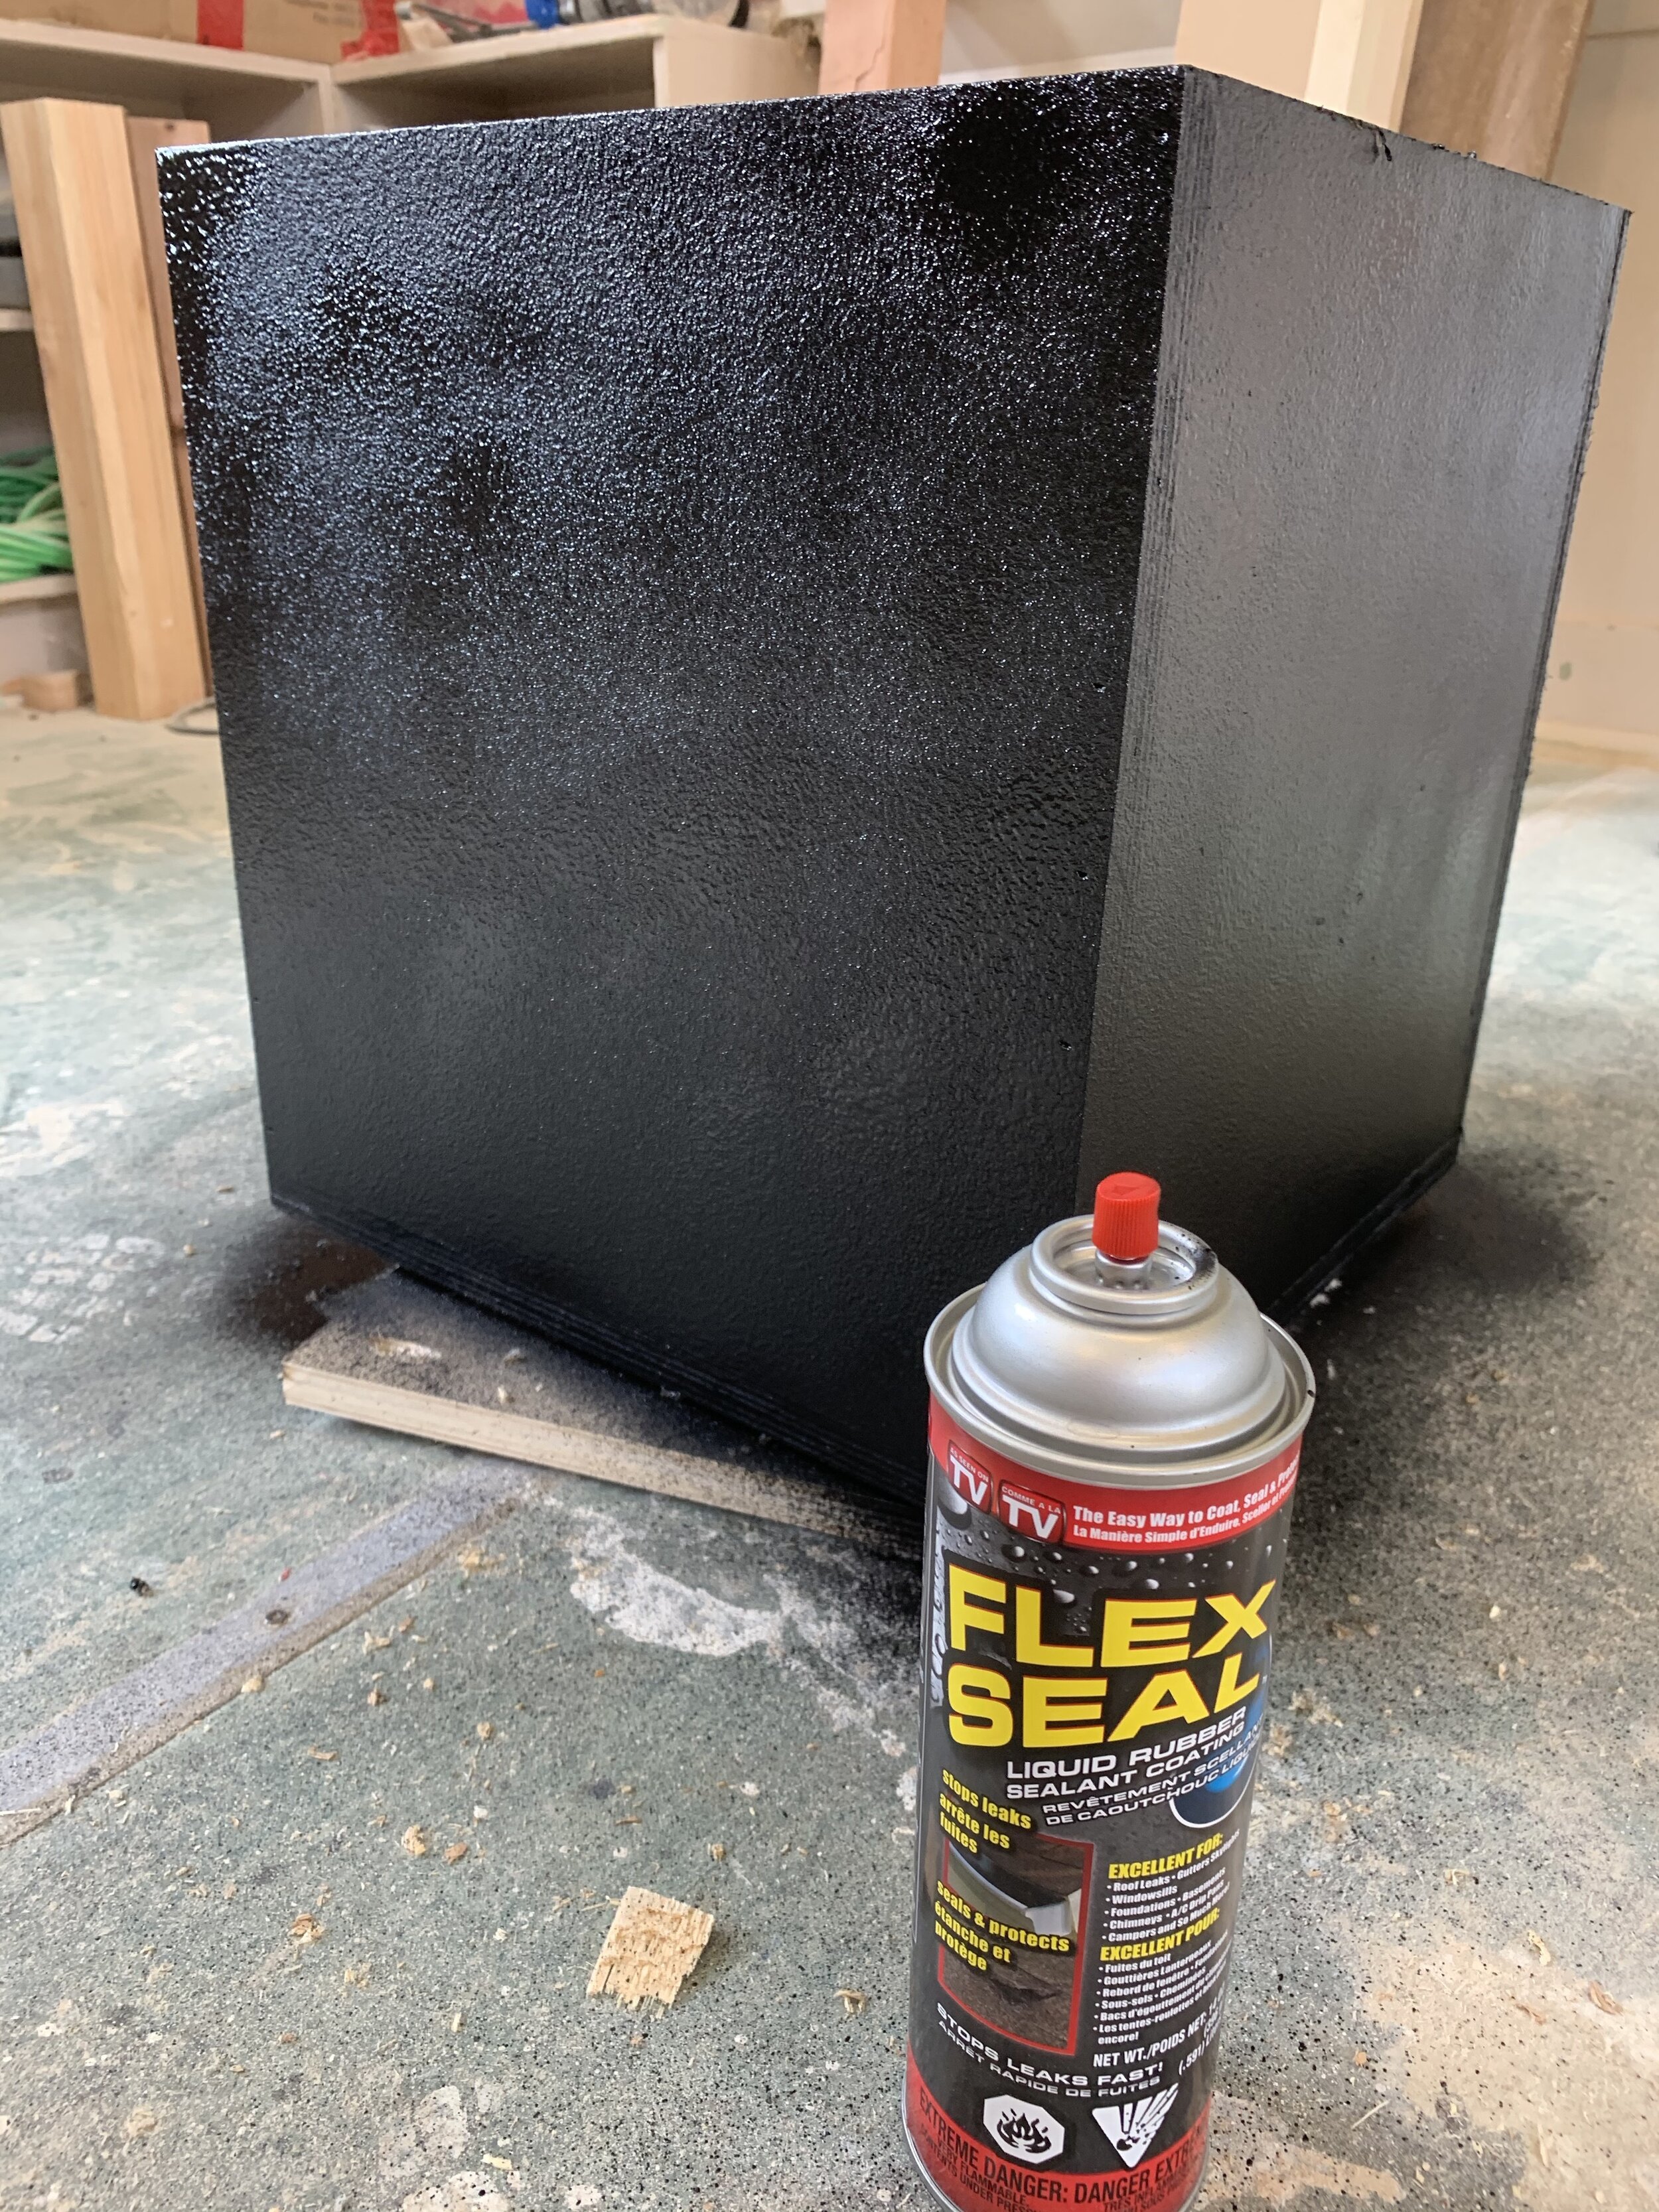
I decided to use flex seal to waterproof the plywood as best as possible. I sprayed the inside, as well as the outside with 3 lights coats of flex seal.
Be sure to spray in a very well ventilated area and use proper PPE. All it to dry thoroughly.

While I was waiting for the flex seal to dry, I cut all the 1x2 strips for the outside of the box and stained these as well as the legs.
Add all the details

Use your brad nailer to secure the pieces on the outside of the box. I added the 15" top and bottom pieces first. Then I secured the bottom of the middle piece at 7" and spaced the two other pieces in between at about 4.5".Repeat this on the opposite side of the box.

After you have all the 15" pieces on, secure the 16.5" pieces on to the remaining sides.

Once all pieces are on, I then added the top pieces (the ones cut at 45 degree angles) to create a finished look.

Put the legs on.
Secure the leg plates onto the bottom with the screws provided.
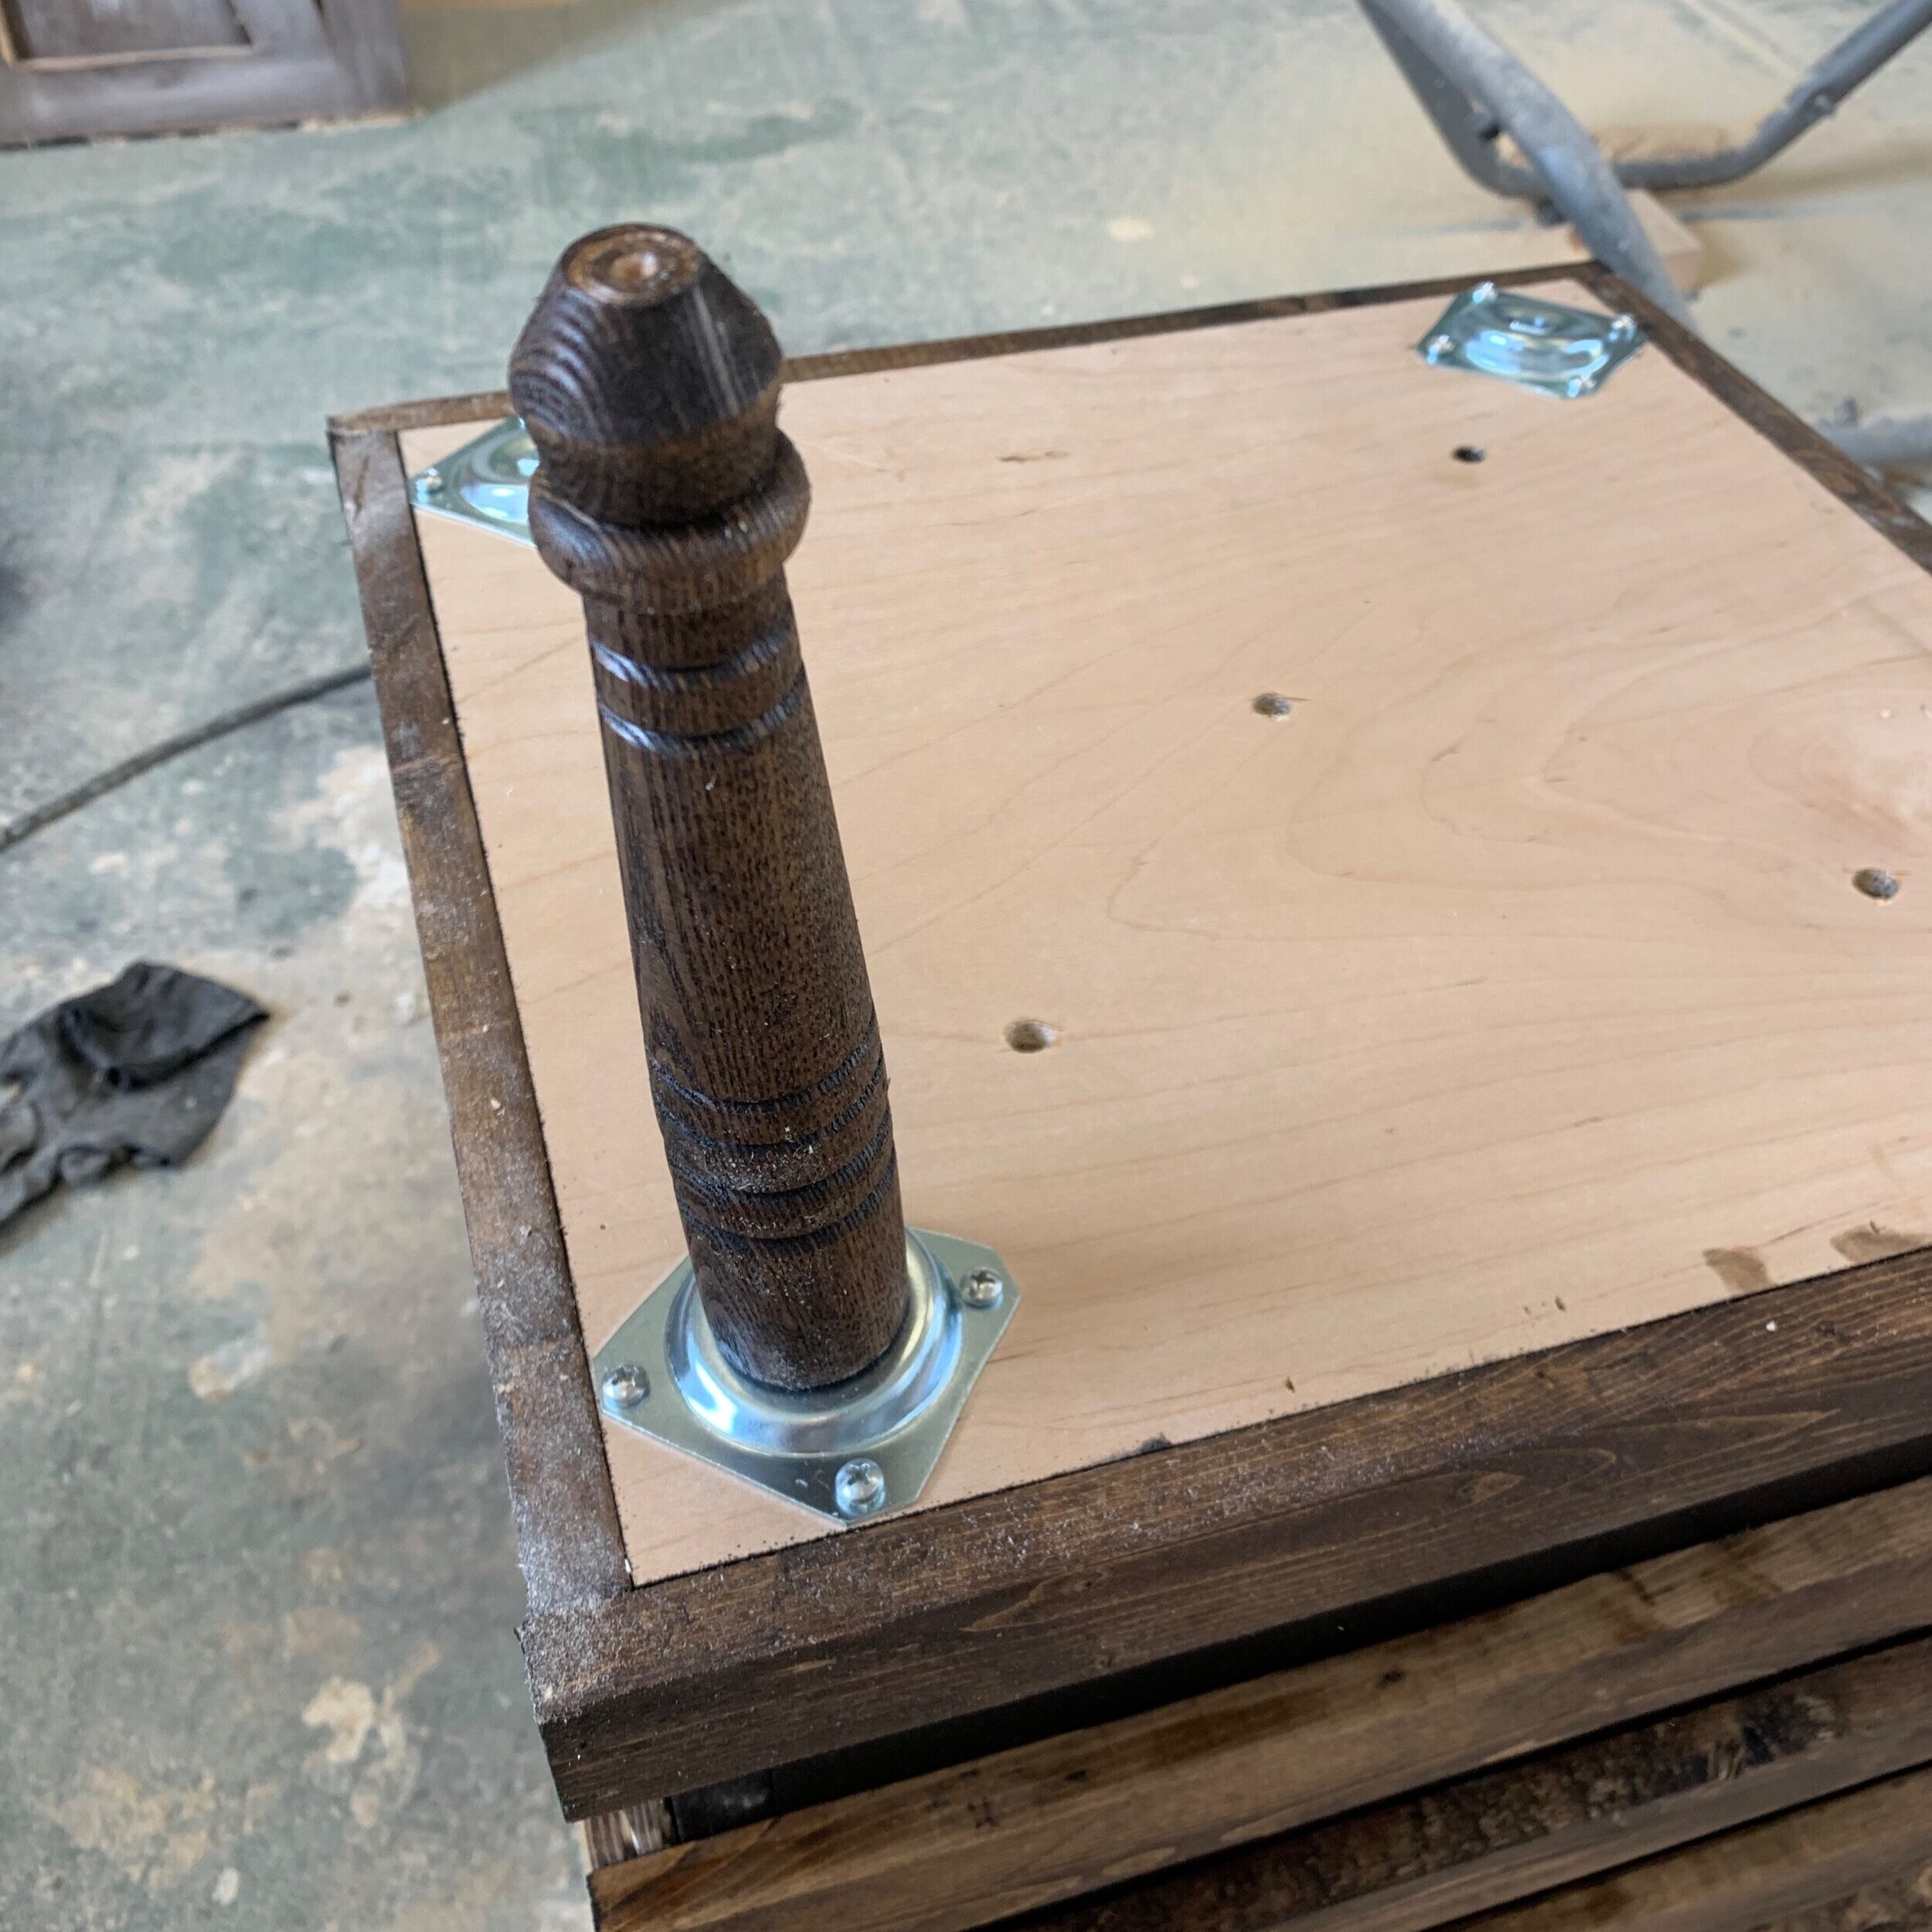
Once all the plates are screwed on, screw the legs into the plates.

I used varathane outdoor gloss sealer. I applied 3 light coats over the entire box. Be sure to spray the legs as well as the bottom. All to dry thoroughly.
Stand back and admire your planter
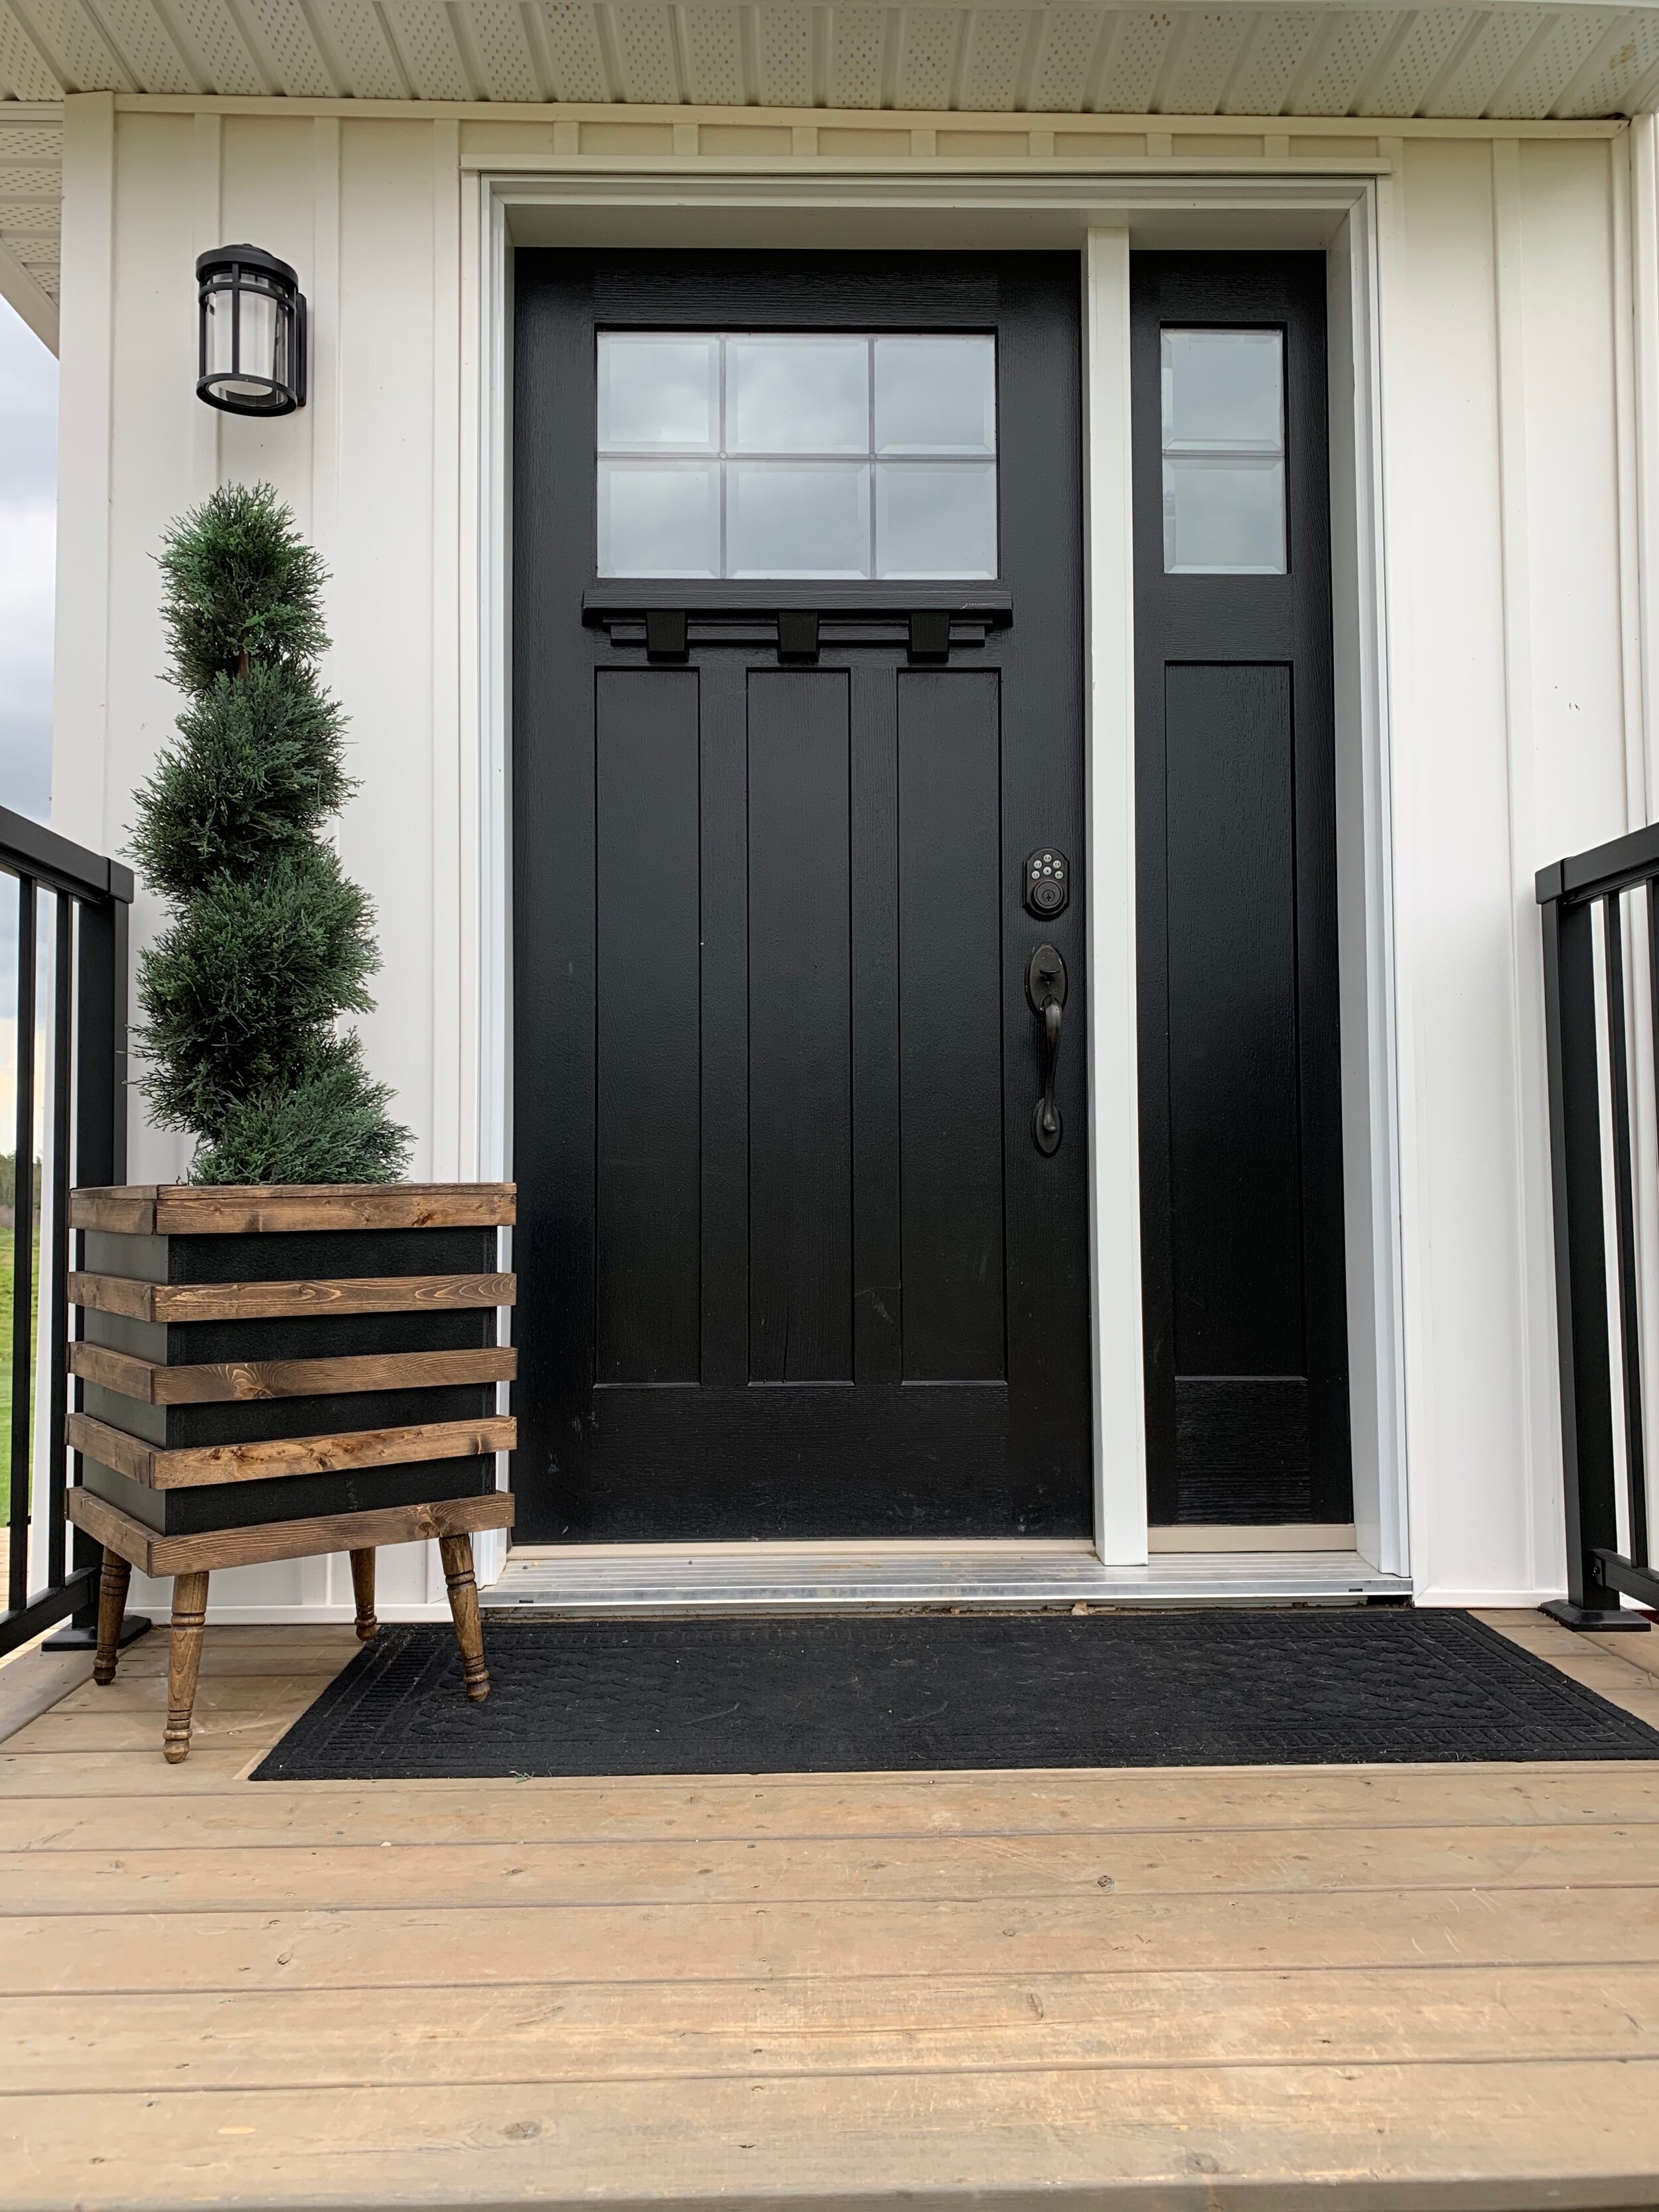
I chose to put a fake pant in my planter box since I am horrible at keeping live plants or flowers alive. You can fill your planter box with whatever you chose.
I absolutely love projects like this. They are so simple to do, don't cost a lot of money but are beautiful and add some much to an area.
Thanks for following along with me for this simple DIY. If you have any questions please don't hesitate to ask. if you enjoyed this tutorial be sure to let me know in the comments.
Don't forget to follow along with me on INSTAGRAM to see current projects im working on.
Cannot wait for our next DIY together.
xo
Amber