
Jar Lid Pumpkin
Fall is such a beautiful time of year, and its just around the corner. Its full of amazing colours and cute decor. So, what better time then now, to show you a super simple DIY that I originally saw done by one of my friends Kerry with second life sally.
All you need to do is round up some old jar bands and you are almost set.
Follow along with me and lets make some cute pumpkins.
Materials Needed:

20 jar lids (bands)
Painters tape
orange spray paint
12" zip tie
Stem
small piece of burlap
fake leaf cut off
hot glue gun
(in the photo you will notice the sparkly spray paint, I didn't actually end up using it)
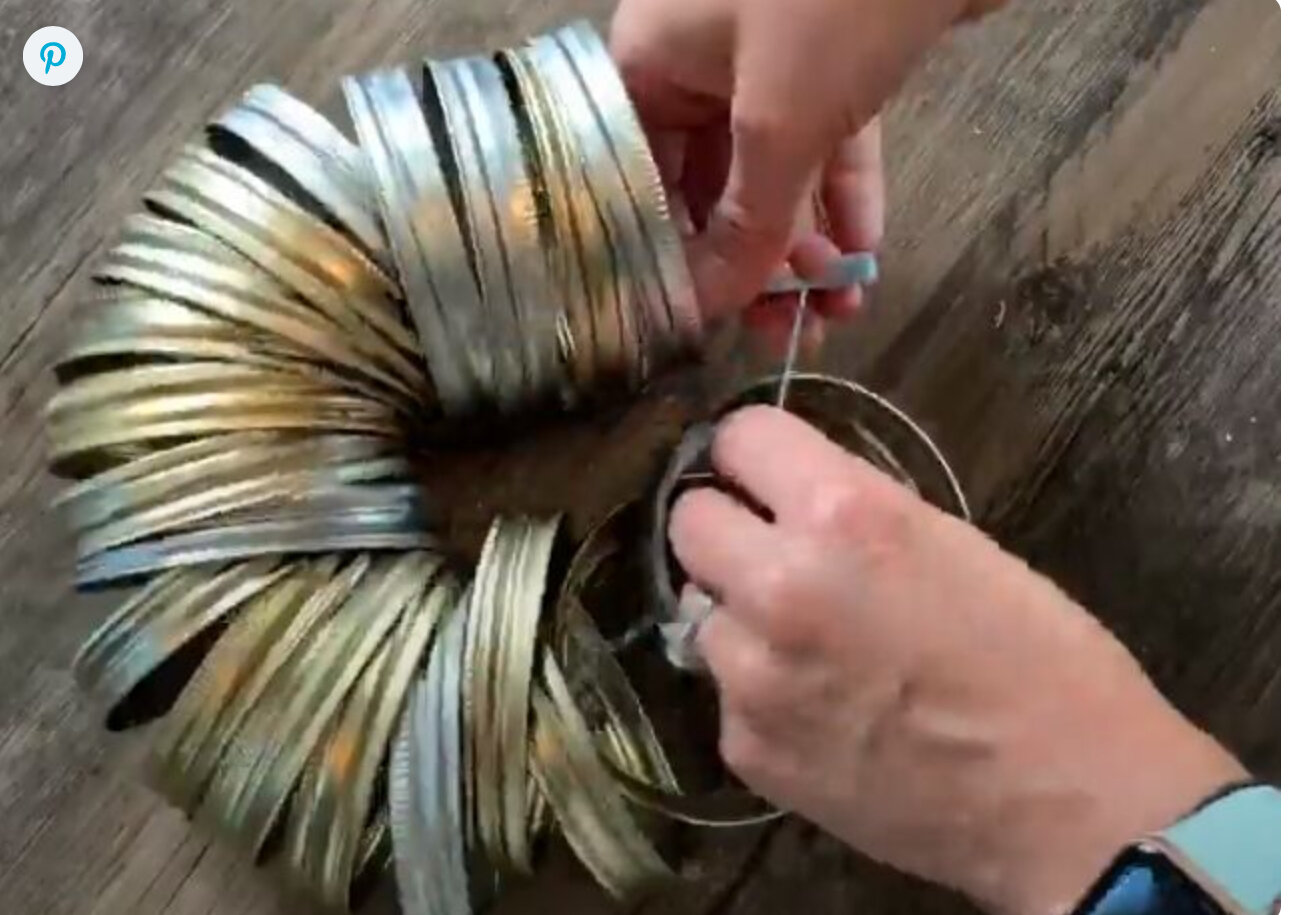
Assemble the pumpkin
Stack all the jar lids and secure with a zip tie. Place the stem in the centre and form into a circle. cut the end of the zip tie so it doesn't stick out of the pumpkin. Use painters tape to wrap the stem so it will be protected when you paint it.
Paint the pumpkin

Spray the pumpkin with a few light coats of paint. Allow to fully dry and remove the painters tape from the stem.
Add the final touches

use your hot glue gun to put on the burlap piece as well as the greenery cut off.
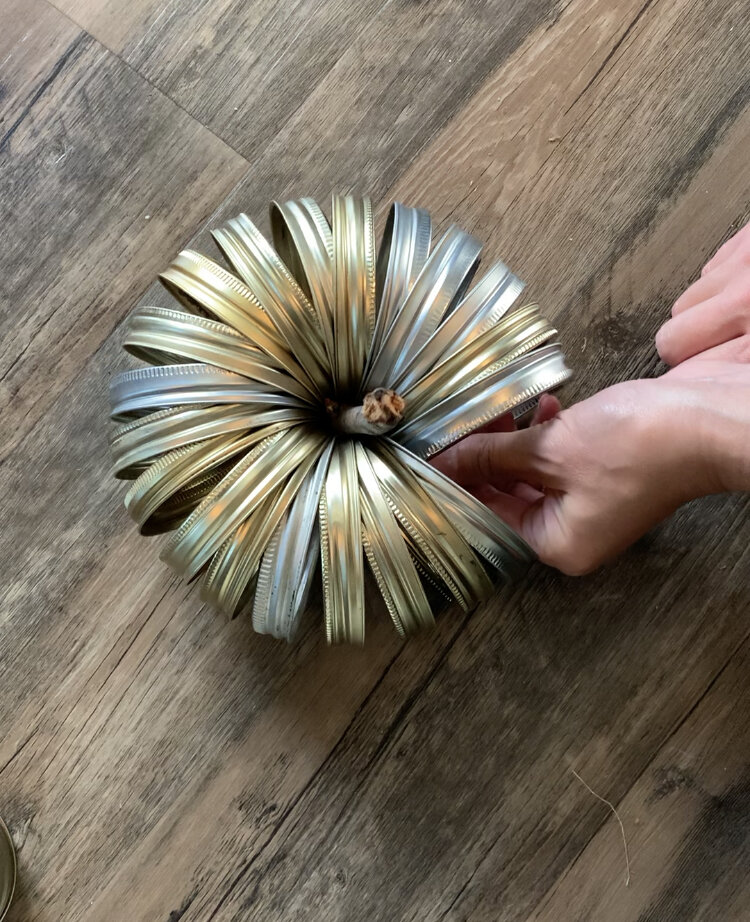
Time to admire your new pumpkin

Honestly, this is one of the easiest DIYs I have ever done. No tools required, which I love. Anyone can make these pumpkins.
You can make different sizes of these cute pumpkins. Simply add more jar bands or use a few less.
Thanks so much for following along with me. Be sure to follow along as well on INSTAGRAM pinterest and facebook.
If you enjoyed this tutorial, but sure to let me know in the comments.
I cannot wait for our next DIY together.
XO
Amber